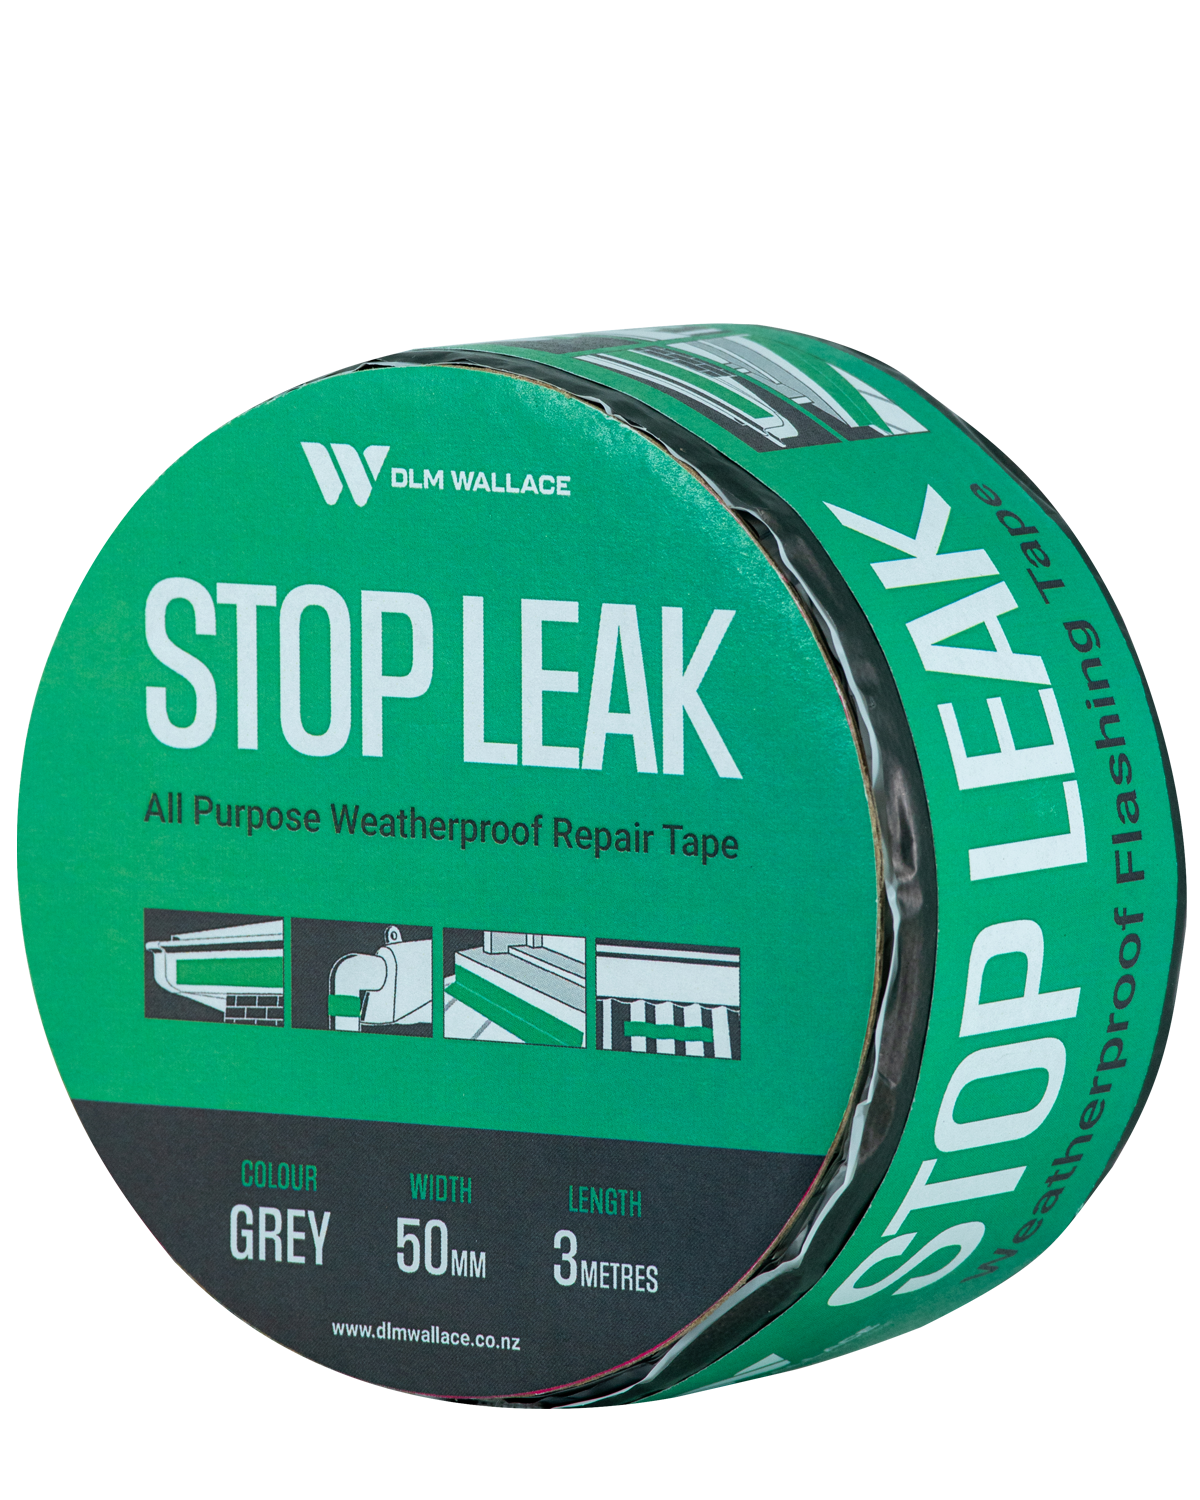
Stop Leak flashing tape is a versatile all-purpose weather proof repair tape for sealing and repairing leaks. Preventing further damage, ensuring your home, vehicles, and structures stay dry and secure.
Ideally suited for repairing:
- Roofing: Repair roof leaks quickly and easily, ensuring your home stays dry and comfortable.
- Guttering: Repair cracks and leaks in your home and buildings gutter.
- Downpipe: Seal any cracks or leaks in downpipes.
- Water Tank Tops: Seals and repairs to water tanks where there is no hydrostatic pressure.
- Skylights: Seal joints around skylights to prevent any water from sneaking in during a downpour.
- Doors and Adjoining Building Surfaces: weatherproof your doors and areas where different building surfaces meet.
- Seams in Caravans, Trucks, Sheds, and More: This tape is versatile enough to handle seam sealing on various vehicles and structures.
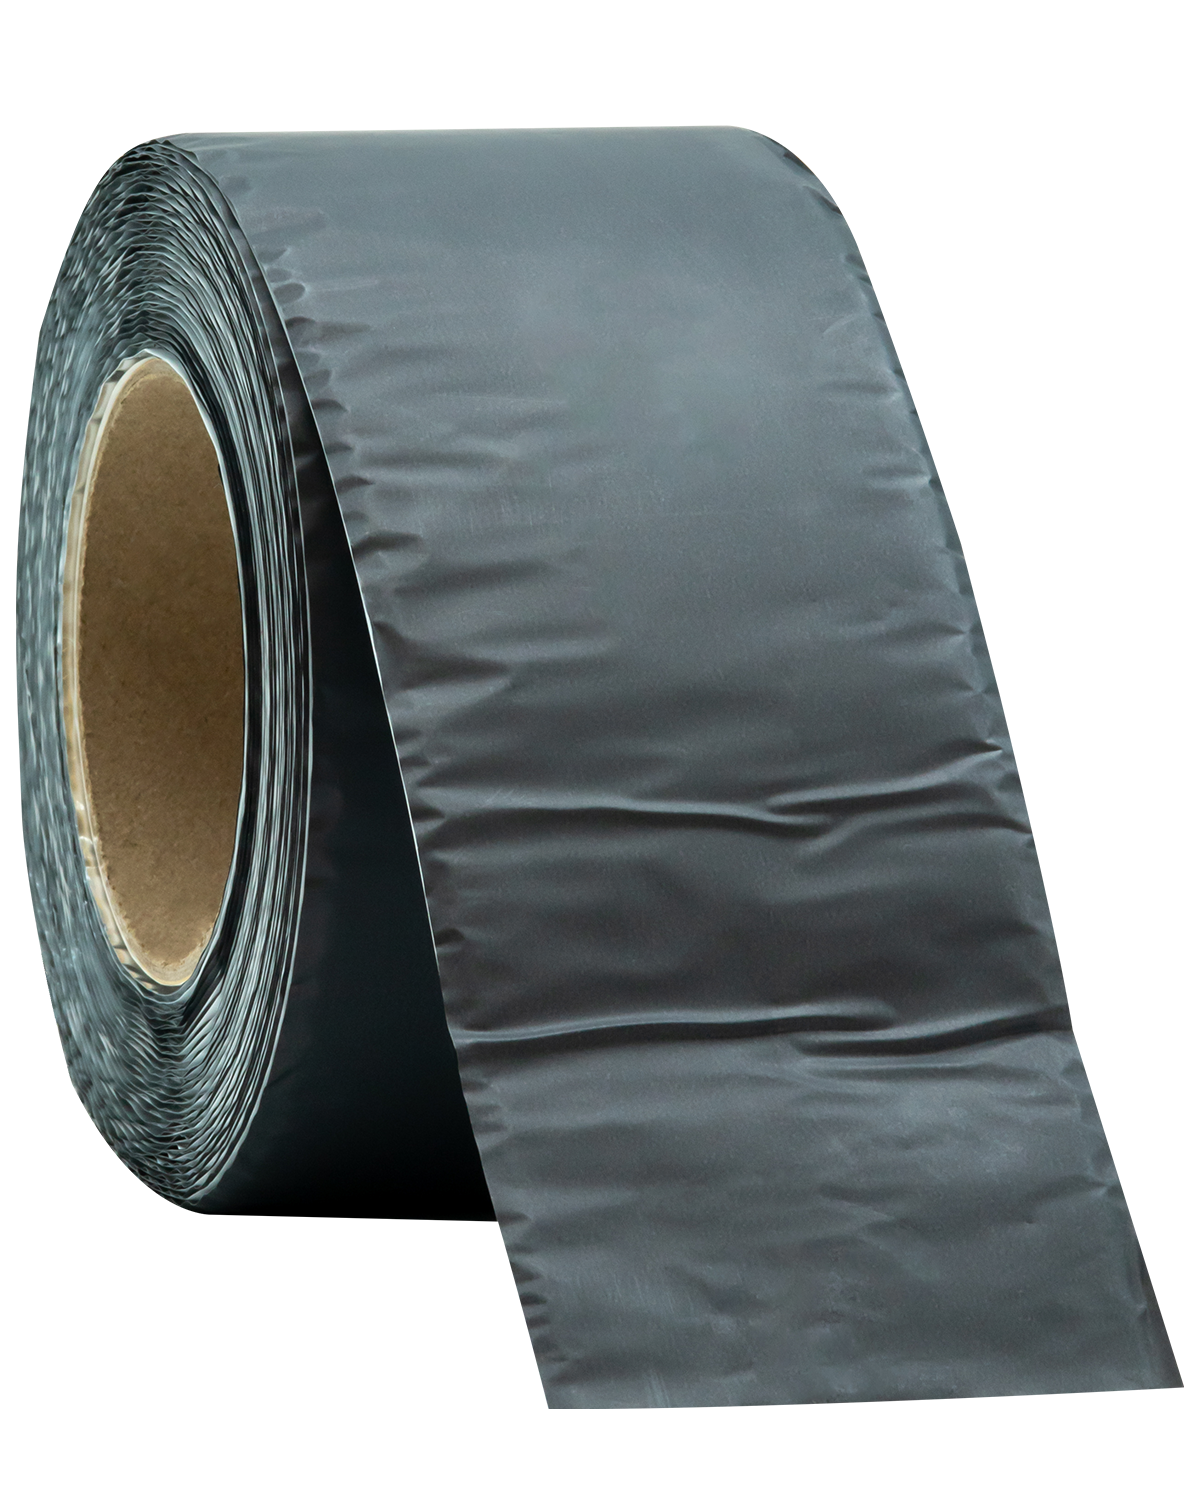
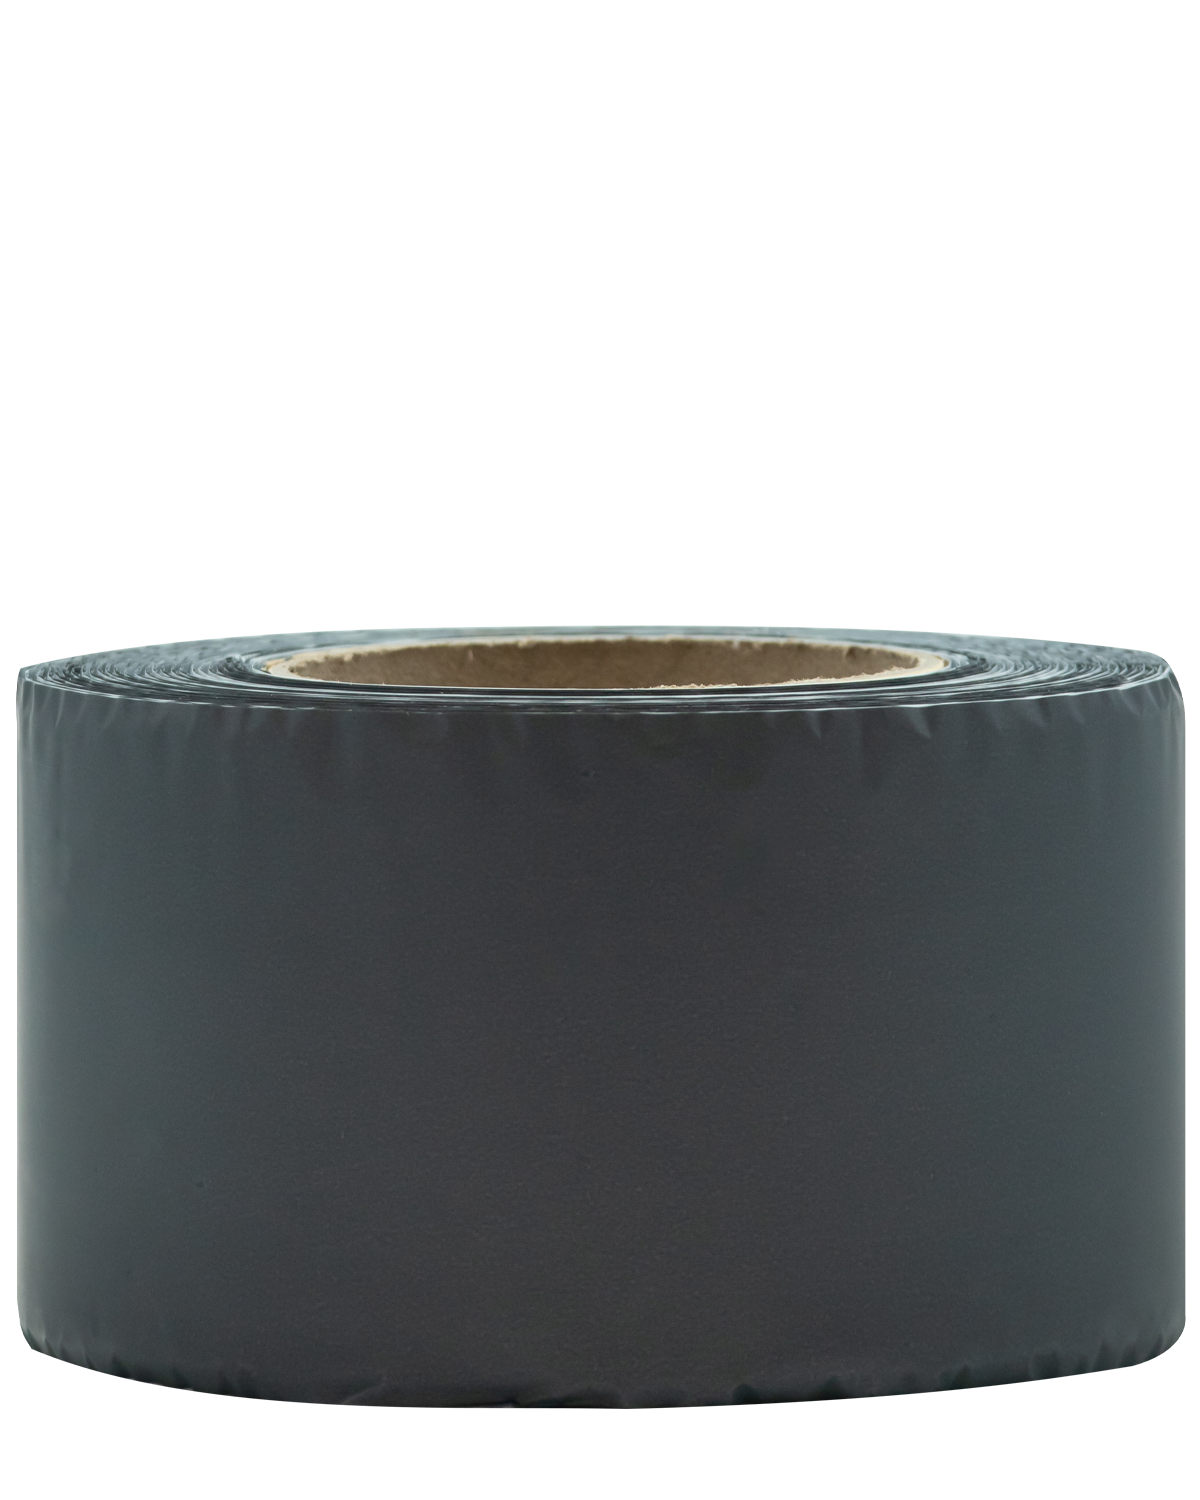
Stop Leak flashing tape is a polyester fused aluminium foil coated with thick Butyl rubber adhesive used for weather sealing joints and seams.
Adheres to most clean and dry surfaces including: Metals, Brick, Cement, PVC, Timber, Glass, Fiberglass
Features
- Permanent seal
- Easily molded in to place
- Adheres to most substrates
- 5 sizes available
- Handy pack range
Handy pack size
| Width (mm) | Length (m) |
| 50 | 3 |
| 75 | 3 |
Roll size
| Width (mm) | Length (m) |
| 50 | 10 |
| 75 | 10 |
| 100 | 10 |
| 150 | 10 |
Uses include repairs to roofing, guttering, downpipe or water tank tops, sealing joints around skylights, doors or adjoining building surfaces and weather sealing seams in caravans, trucks, toolsheds etc. Stop Leak is not a permanent solution in replacing existing weather flashing on the home.
Applying Stop Leak Tape
When it comes to applying Stop Leak Tape, it's essential to follow these steps to ensure a secure and effective seal, especially in New Zealand's varying weather conditions:
- Measure and Cut: Start by measuring the required length of Stop leak Tape. For cutting, we recommend using a razor blade for precise results.
- Surface Preparation: Ensure that the surface you're sealing is clean and free of any dirt, oil, or contaminants.
- Remove Backing: Peel off the transparent backing from the tape.
- Apply Firm Pressure: Press the Stop leak Tape firmly onto the surface, making sure to eliminate any air pockets.